
You can imagine my devastation after noticing my "Wedding Day" Yankee Candle was not able to light anymore. :) I actually was a little bummed-- the wedding festivities are officially over.

I'll be honest. I've dusted that table twice since we moved here.
I keep meaning to not throw out the jars from candles so I can turn the jars into something functional. It's a pretty simple process and from start to finish, it took about 90 minutes.

I guess you can't tell but it was completely done-zo.
Obviously, the candle needs to be completely cooled. Take the top off and plop it in the freezer for about an hour or so.

Mine just hung out beside some Lean Pockets & fruit.
I set the timer because I knew I would forget about it and not notice for a while. It really needs to set, so no amount of time is too long. Unless, of course, it's a year or something like that.

Well, I should have actually pushed start, because I never heard anything ding. Around noon I walked up to the fridge and there it sat. Still on 75 minutes. Sweet.
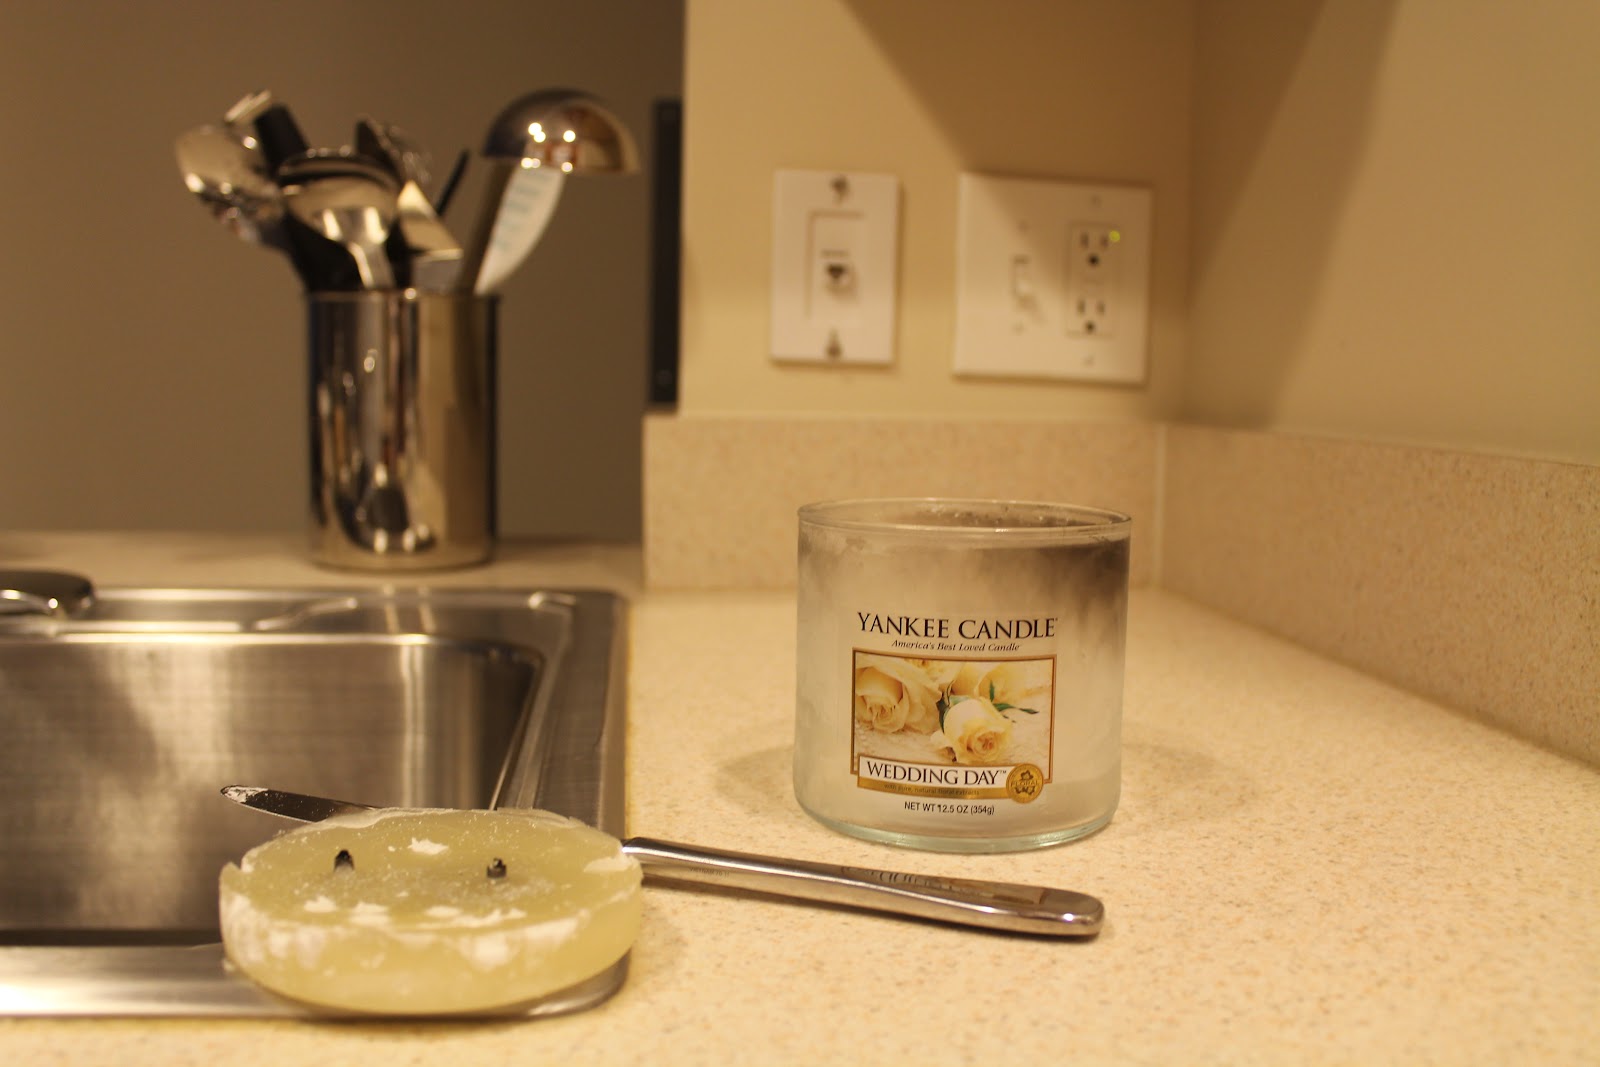
When your timer goes off, get out a dull knife. I got out a sharp one and it was too flimsy to work with. I also kept hearing my dad tell me to "never cut anything frozen". He's right!

Start with the edges. Kind of like you're removing a cake from a cake pan. Slide the knife around. Mine popped off after about 2-3 minutes of doing this.
If you think it needs more time, pop it back into the freezer for an hour.
Voila!
Next I was careful and removed the sticker on the front and the sticker on the bottom.
It took a few minutes, but I scrubbed and scrubbed and all the soot came off! I was a little surprised, actually, because I was sure it was on for good.

Nice and clean!
At this point, I was wondering why in the world I did this when I had nothing to put in the jar. I figured something in my bathroom needed a home and I was right!

Isn't it cute?!
It holds a ton of q-tips just perfectly. Woo hoo!
If you enjoyed this tutorial be sure to Pin It on Pinterest. xO
Adorable. Probably cheaper then a store bought q tip jar too.
ReplyDelete